Updated: September 2026
Some links are affiliate links. I may earn a commission at no cost to you. As an Amazon Associate I earn from qualifying purchases.
Who This Is For / Not For
For: Snow-belt homeowners (Northeast, Midwest, Mountain West, Upper Midwest) and cabin owners who want a clear, ground-only routine for clearing the lower eave snow band after storms — asphalt shingles and many metal roofs.
Not for: Sun Belt shoppers, anyone planning to climb an icy roof or ladder with a shovel, or anyone expecting a rake alone to fix chronic attic heat loss and ice dams.
Job To Be Done
Pull the lower eave snow band after storms (about 4–6 inches or more) without getting on the roof — safer than a ladder, cheaper than a spring ice-dam leak.
A roof rake mitigates eave load and ice-dam risk. It is not an attic insulation or ventilation fix. Clear the edge band; leave deep structural diagnosis to a pro if you already have leaks or chronic dams.
This how-to uses manufacturer safety notes, specialty guides, and the same product stack as our Best Roof Snow Rake 2026 roundup. We did not hands-on test these tools for this article. For type differences (slide vs roller pull), see Avalanche vs wheeled vs SNOWPEELER.
When To Rake
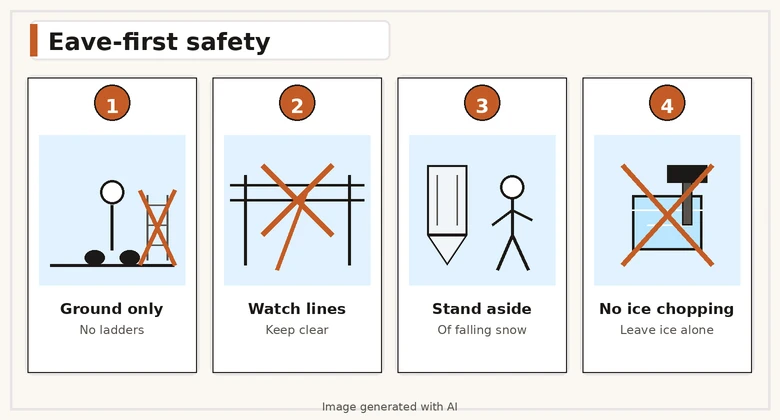
Rake after storms once the eave band is about 4–6 inches deep (or sooner in wet, heavy snow). You do not need an invented wait clock — clear while snow is still workable, before it packs into a hard slab or bonds into ice at the edge.
Focus on the lower few feet above the eave first. That band feeds the melt-and-refreeze cycle that builds ice dams. Clearing the whole roof deck is usually unnecessary and harder from the ground.
Skip the job in high wind, near live power lines you cannot stay clear of, or when the pack has already turned to solid ice you would have to chop. A rake is for snow, not chopping ice.
Gear Checklist
Keep it short:
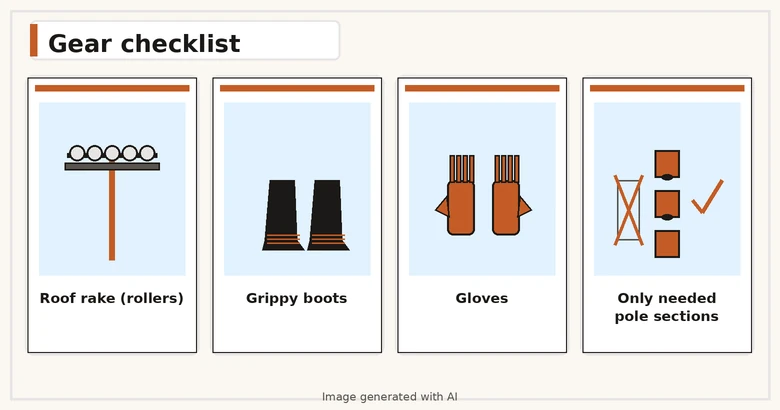
- Roof rake with enough reach for your story height — rollers, wheels, or glide pads preferred on asphalt. Match type in the compare guide.
- Stable footing — boots with grip; clear a walk path on the ground before you start.
- Eye and head awareness — snow and ice slabs drop hard; stand aside of the fall line.
- Only the pole sections you need — more length means more swing weight.
- Gloves that let you lock snap buttons or twist locks without stripping them.
Optional: a second person to watch the fall zone and power-line clearance. Not optional: staying off ladders and the roof.
Eave-First Steps
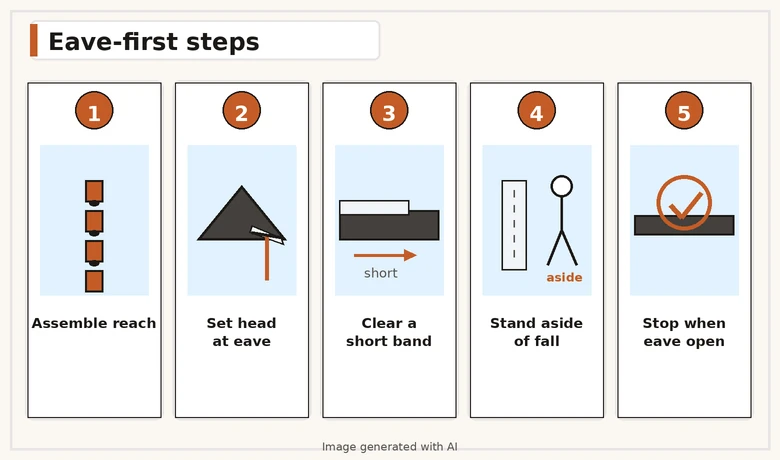
Work the edge band in passes. Do not try to strip the whole roof in one heroic pull.
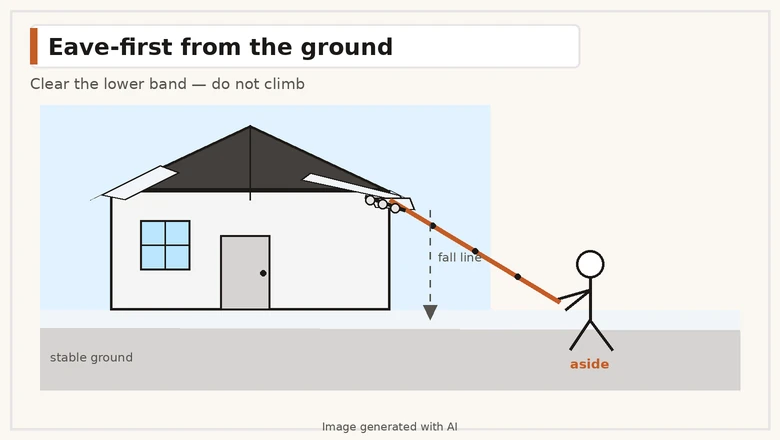
- Walk the perimeter on solid ground. Note power lines, gutters, shrubs, walkways, and parked cars. Mark a safe stance where falling snow will not hit you.
- Assemble only the reach you need. Start short. Add sections only when the head will not reach the eave band. Leave the head on the roof while adding poles on sectional kits (SNOWPEELER-style guidance).
- Set the head at the eave, not mid-roof. Place rollers, wheels, or glide pads so the cutting edge or frame stays off the shingles. On a pull rake, seat the blade under the lower snow lip. On a slide system, push the chute under the pack so gravity can dump the slab.
- Clear a short band first (about 3–4 feet up from the eave). Work in overlapping passes along the eave. Dump or let the slide carry snow away from your body — never stand directly under the fall line.
- Step aside before each dump. Wet slabs and frozen chunks fall with force. Keep bystanders and pets out of the drop zone.
- Work around, not through, ice. If you hit bonded ice, stop chopping. Clear loose snow above and beside it; leave solid ice for melt, a pro, or a different method. Manufacturer notes (including SNOWPEELER and USA Handy Tools) warn against chopping or pulling ice.
- Stay clear of power lines for the entire job. Do not raise the pole near service drops. Do not hold a long pole overhead in wind.
- Quit when the eave band is open. You are done when the lower snow band that feeds ice dams is gone — not when the ridge is bare. Put the rake away dry; knock packed snow off rollers and slides before storage.
If your arms are spent before the eave is clear, stop and finish later. Fatigue is how poles whip into lines or how slabs land on your head.
Common Mistakes
- Climbing a ladder or the roof “just for the high spot.” The tool exists so you stay on the ground.
- Waiting for a deep, frozen pack instead of raking after storms at ~4–6 inches.
- Standing under the fall line while you pull or while a slide dumps.
- Chopping ice with the blade or frame.
- Using every pole section on a short ranch roof — extra reach only adds weight.
- Dragging a bare metal edge hard across soft asphalt when rollers or a slide are available.
- Treating the rake as an attic fix. Persistent dams still point to heat loss, insulation, and ventilation — hire a pro for that diagnosis.
Buy This If You Still Need A Tool
This page is the how. If you do not own a rake yet, pick by reach and roof protection in Best Roof Snow Rake 2026, or by motion type in the Avalanche vs wheeled vs SNOWPEELER compare. Soft picks from that stack:
- Thin-to-moderate eave, one-story, rollers → USA Handy Tools 20′ On Amazon or Extreme Max Shingle-Saver 21′ On Amazon
- Asphalt + want a gravity slide at mid reach → Avalanche AVA500 On Amazon
- Two-story / deep / max slide reach → SNOWPEELER Premium 30′ On Amazon
Prices move. Re-check the live listing before you order. Skip no-name foam “year-round” rakes with thin review histories.
Sources
- Best Roof Snow Rake 2026 — pick path, safety short, model stack
- Avalanche Slide vs Wheeled Roof Rake vs SNOWPEELER (2026) — motion types
- SNOWPEELER Premium 30′ On Amazon — ground-only / power-line / no ice / no overhead-in-wind notes
- USA Handy Tools 20′ On Amazon — stay off power lines; not for chopping ice
- Avalanche AVA500 On Amazon — wheeled slide specs
- Extreme Max Shingle-Saver 21′ On Amazon — roller pull rake
- Ice-dam / eave-band context: The Roofing Brief — best roof snow rake
Some research/drafting uses AI; a human reviews before publish.